Overview
Enables users to upload and manage their own profile pictures(avatar) directly on your site, replacing the default Gravatar with a locally stored avatar image.
Getting Started
Activate Content Restriction module
Enable ‘Local Avatar’ from Advanced Members Dashboard
Global Configuration
1) Go to module setting
Go to ACF > Advanced Members > Settings > Avatar
2) Avatar Sizes

Comma separated numbered size list for avatar. Sizes should be between 80~512.
In most cases, You don’t have to change this setting from default value(96,150,300)
3) Set Default Avatar

Turn on ‘Set Default Avatar’ option and upload default avatar image.

Move and resize corp area and just click ‘Crop’ button to save default avatar.
Don’t forget to ‘Save Changes’.
Use Avatar Field
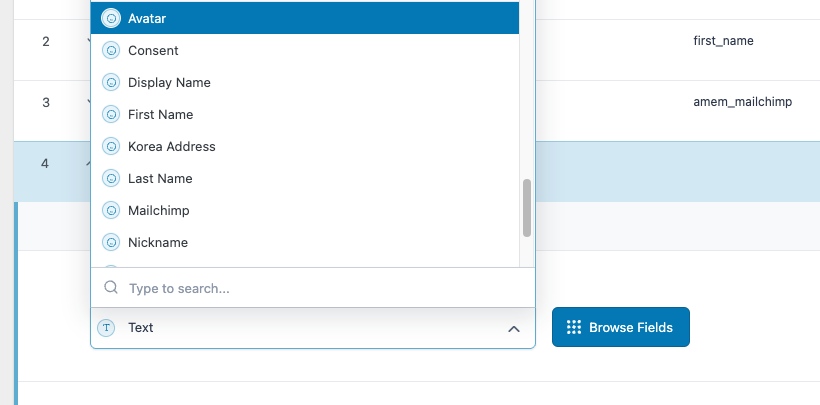
You can add ‘Avatar’ field to Advanced Members Forms like ‘Account’
In your edit screen of field group, connected to Account form, ‘+ Add Field’ and select ‘Avatar’ categorized by Advanced Members.

Set Label and Name of field like other fields
Set Preview Size

You can set preview size of avatar when user see their form like Account.
It’s recommended to set size one of ‘Avatar Sizes’ to reduce resource.
