Overview
Adds Google reCAPTCHA verification to user registration and login forms, helping to prevent automated spam and ensure that only real users can submit the forms.
Getting Started
Activate Content Restriction module
Enable ‘Google reCAPTCHA’ from Advanced Members Dashboard
Global Configuration
1) Go to module setting
Go to ‘ACF > Advanced Members > Settings > reCAPTCHA‘
2) Site Key & Secret Key
Two required key to apply reCAPTCHA to your site.
You can create and see those keys from reCAPTCHA API Admin.
You can follow Google’s Guide to create new one.
reCAPTCHA will not function properly until validated Site Key and Secret Key are configured.

3) Select reCAPTCHA version to apply
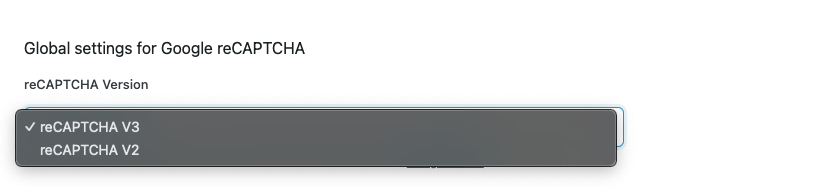
Select the reCAPTCHA version. You can find details of verions form Google Guide.
v3 Only Settings
1) Hide reCAPTCHA badge or not
You are allowed to hide reCAPTCHA v3 badge as long as you include the reCAPTCHA branding visibly in the user flow. Please check the Google’s guide for branding.
2) Score Threshold

Select score threshold to verify. 0.0 mens very likely a bot and 1.0 very likely a human. Google’s default value is 0.5. Check Google guide
v2 Only Settings
1) Type
Select the reCAPTCHA type for v2.
- Checkbox: Validate requests with “I’m not a robot” checkbox.
- Invisible: Validate requests in the background.
See Google Guide for more details.
2) Theme
Select a theme for reCAPTCHA: ‘Light’ or ‘Dark’.
3) Size
This setting is for ‘Checkbox’ type. ‘Normal’ or ‘Compact’
Form Settings
You can enable reCAPTCHA from the form settings screen.
After activating the ‘Google reCAPTCHA’ module, you’ll see a ‘Use reCAPTCHA’ option in the settings.

Simply enable this option and save your form—that’s it!
